Creating a GameBoy TAS

This post is part of the Game Boy series (#7).
In the world of speedrunning, a TAS is a Tool-assisted speedrun, meaning that it was not (only) done by human hand, but using some sort of tool.
This leads to a quite different challenge than speedrunning itself: Find the most optimal sequence of inputs for a game and then record a video of how those inputs are being executed. As the sequence of inputs can be written down and saved, they can be then fine-tuned, improved and optimized far beyond what a human player could be capable of.
BizHawk
Now for the GameBoy, one emulator that has great TAS support is BizHawk. It is very accurate per-frame (unfortunately not always in real-time, see emulator tests here) and allows for "programming" a sequence of inputs directly in the UI.
Let's look at a first example:
The game used here is Wordle for GameBoy. To the right, a sequence of inputs (Up, Down, Left, Right, A, B) are being scrolled down, and on the left the emulator executes those inputs on the emulator.
Starting a new TAS project
So let's get started with our TAS! We'll use the newest version of BizHawk for Windows, as it works best there. You can download it from the Github link above or from tasvideos.org, which, by the way, have a lot of TAS resources available.
After downloading and installing, we are greeted with an empty, black window. Next we need some kind of GameBoy ROM, a game. We'll use the freely available game "Gunman Clive" for GameBoy, you can download the ROM here.
After dragging the file into the BizHawk window, the game should load. Now we can open the TAStudio:

We now have a side-by-side view like in the first video above. We can now let the game start using the "Pause" button, and pause it again when the "Press Start" is visible.
That's the point we can add our first input: Click in the "S" column to simulate a "Start" press, and the game should start!

Tip: Sometimes you need more than a single-frame input, as manual inputs usually also last for at least 2-3 frames.
Learning to walk
Now that we're in the actual level, let's try and move forwards. To move on an actual GameBoy you'd press and hold Right, so we're going to add a lot of "R" inputs:
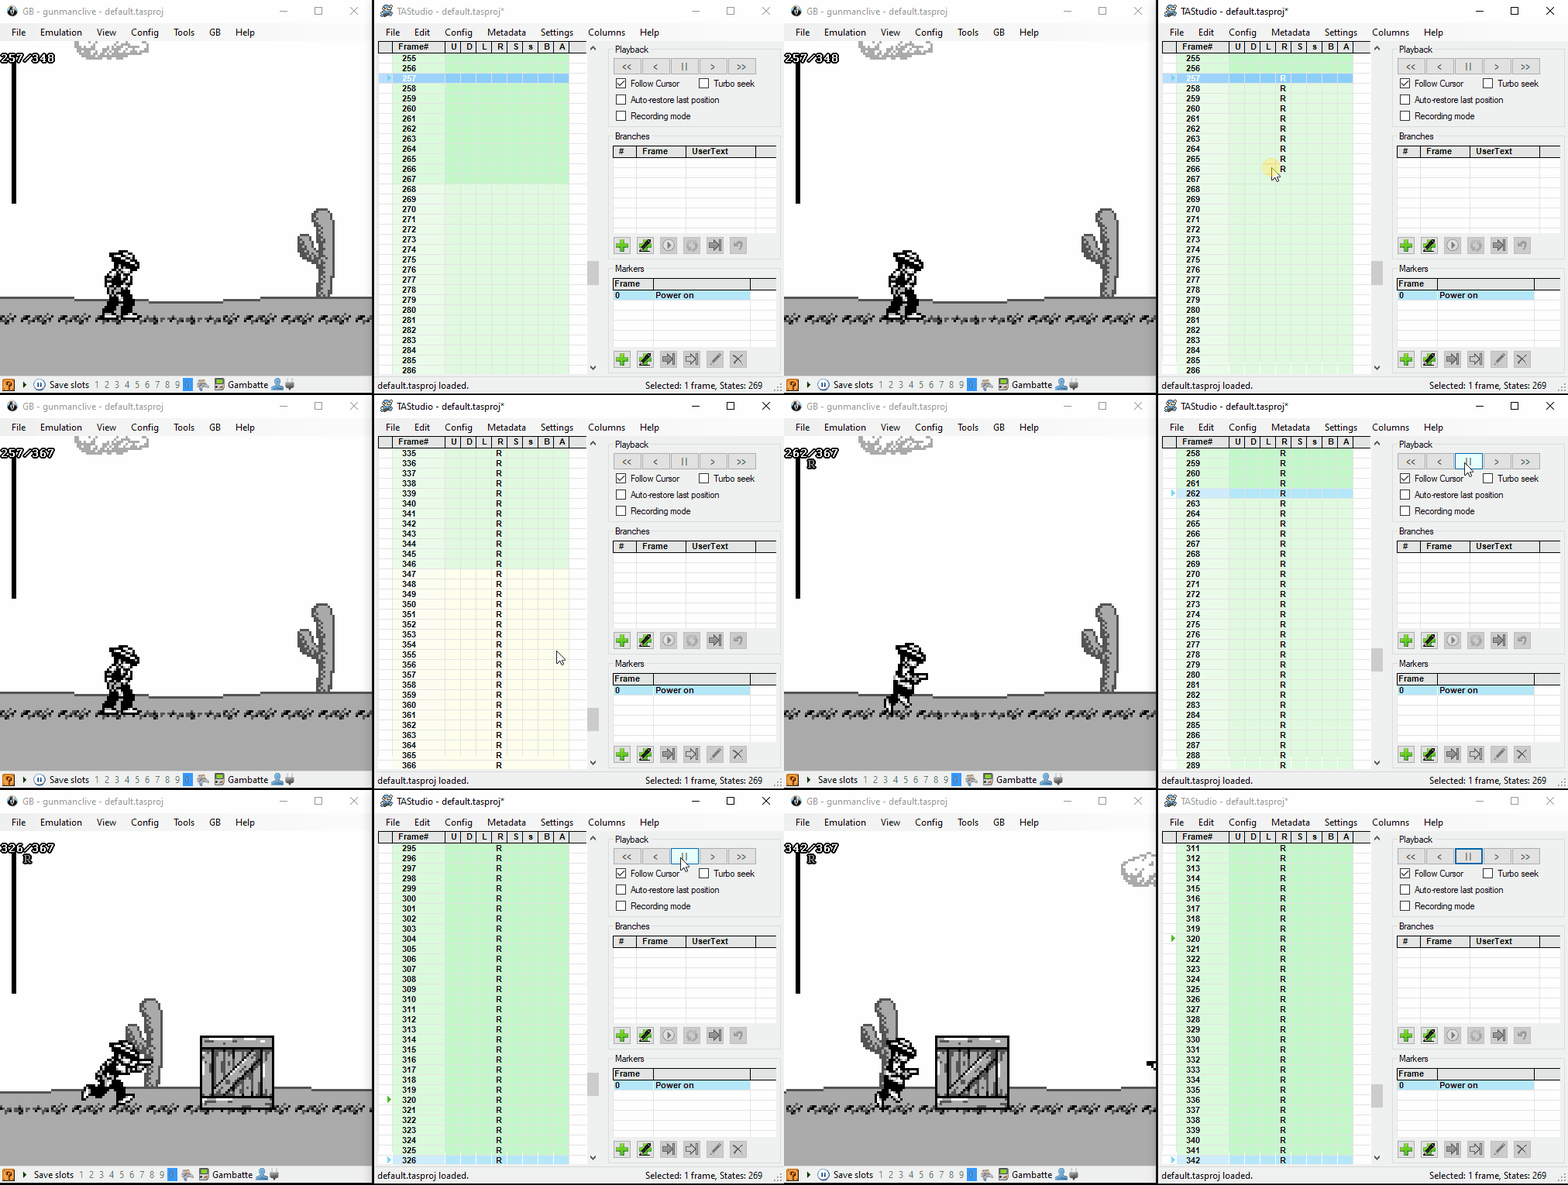
Tip: You can just click & hold and then drag down the column to add many inputs at once. The same works for undoing them.
Next up is an obstacle - let's jump over it! Jump is mapped with an "A" input and we'll have to time it somewhat to actually land on the crate and not before it.

Tip: If you click and hold in the leftmost, white column and then drag up or down, the emulator will follow and you can watch the game run in slow motion or go back and forth framewise, which is really helpful for "debugging" or optimizing a certain section of the game.
After putting some effort working on our TAS project, be sure to save it, which you can do via "File > Save As", and save it as a new .tasproj-File. This file contains all the inputs and other configuration and will let you continue were you left.
Tip: I would recommend to backup the .tasproj-File now and then (with creating a simple copy), to make sure you don't lose your progress. It happens now and then that BizHawk crashes or that you mess up with the project (for example with branches, which are a way to explore variants).
Advanced: Using RAM watch / RAM search
One technique which can be very helpful is digging into the GameBoy's internals, and observe certain values to better understand what is going on.
For example, in Gunman Clive, you can fire at most 3 bullets at once (using "B"). After that, nothing will happen if you press "B":
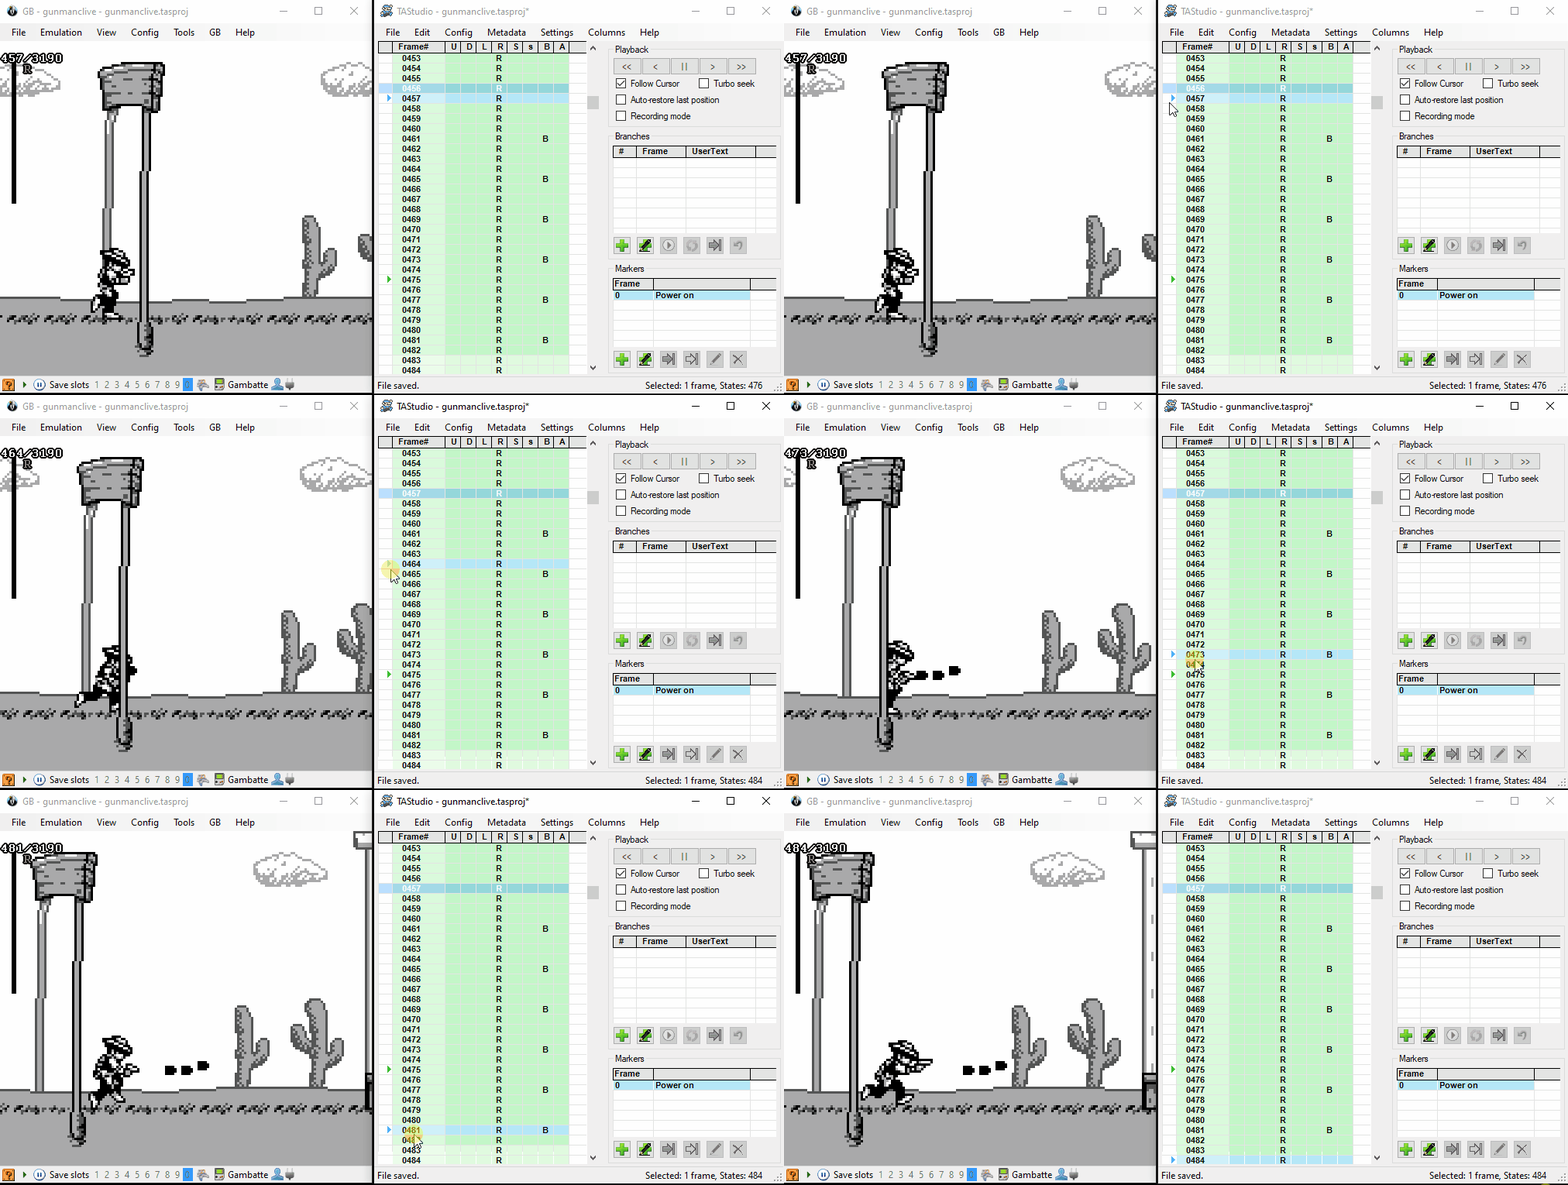
Now let's find out where this limit is stored. Let's close TAStudio for now (don't need it for this step) and open RAM search:

Now we see a list of all in-memory values, which the game will update, for example position of te player, movement speed, position of enemies etc.
Let's try to pin down the exact location of where the limit of 3 bullets is saved. Now this works as follows:
- You start out with the full memory bank (here 8192 addresses), which you can observe at runtime. One or some of those addresses are related to what you're searching, so you'll have to search for the right ones.
- You can either search for specific values (which is often very tricky, as we don't know how it is stored), or, which is often more successful, filter by how the value changes. For example, if we shoot bullets, we expect the value to decrease. If we do nothing, we expect the value to stay the same. This way, we can filter out all the RAM addresses which are not related to what we're searching.
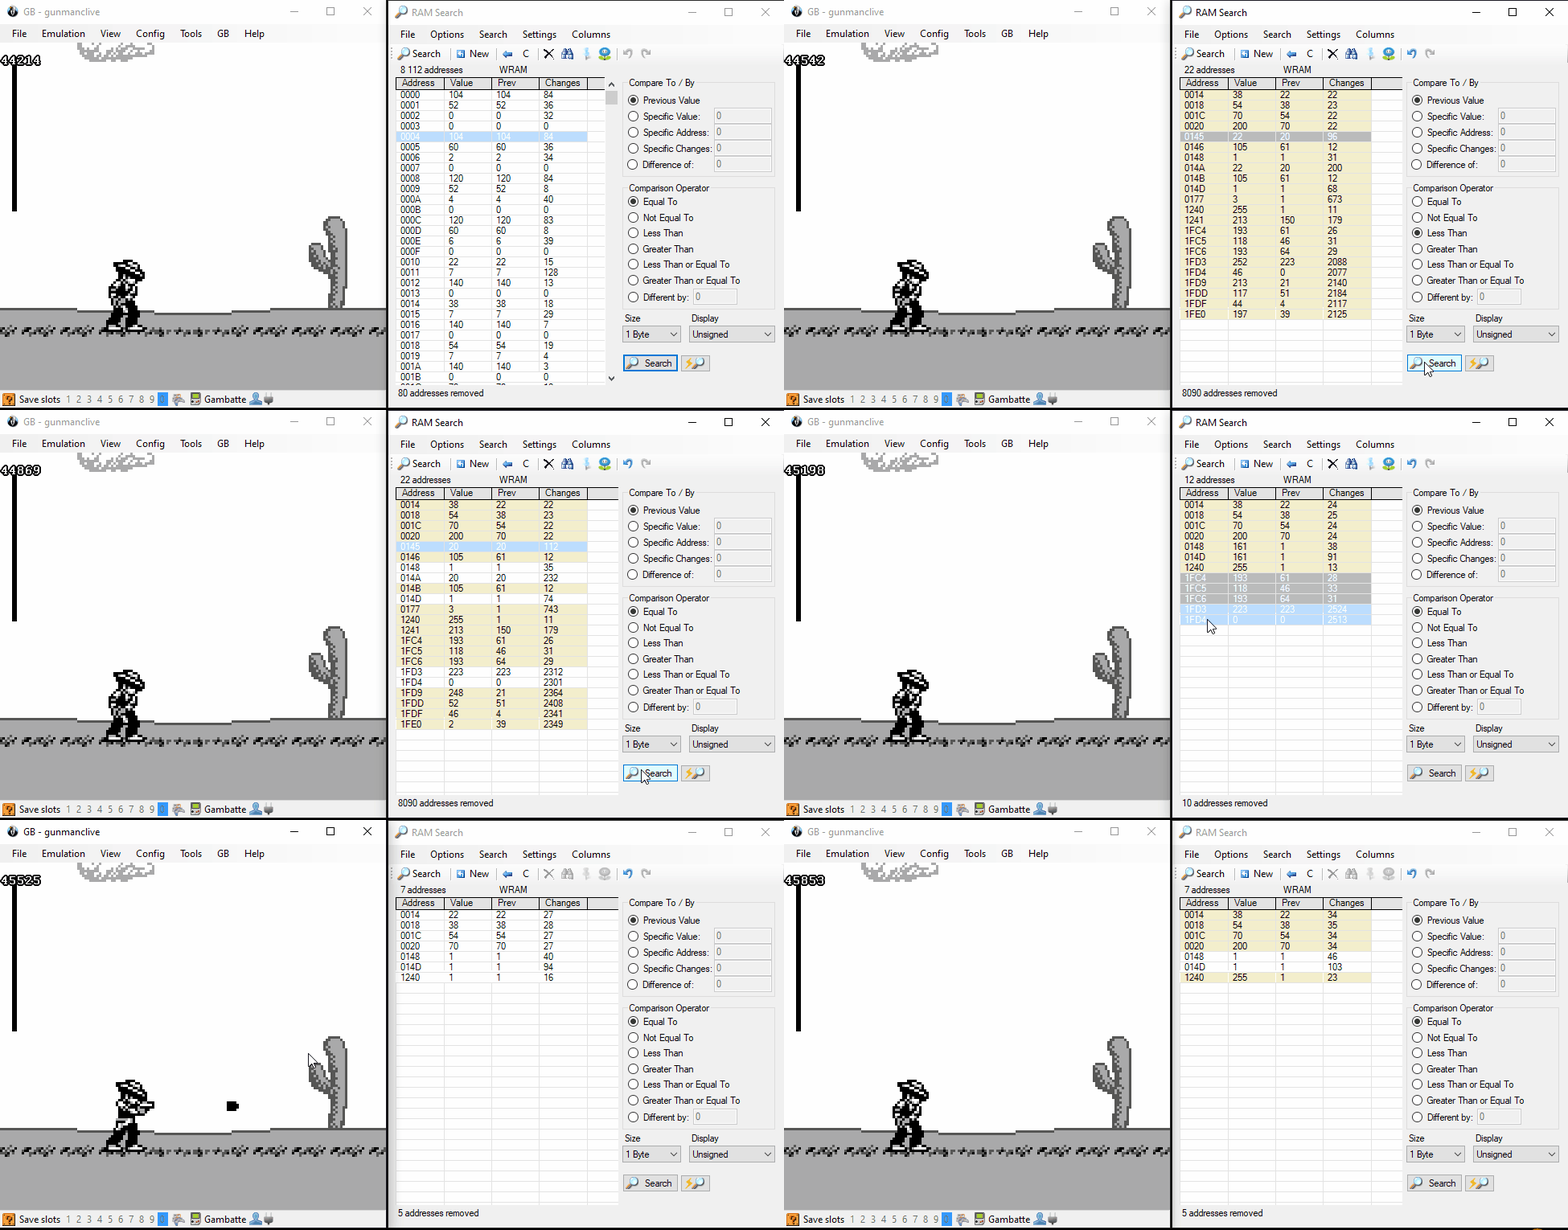
If we have found an address which seems to match, we can observe it by adding it to the RAM Watch. It seems that address 1240 is related to what we're searching:
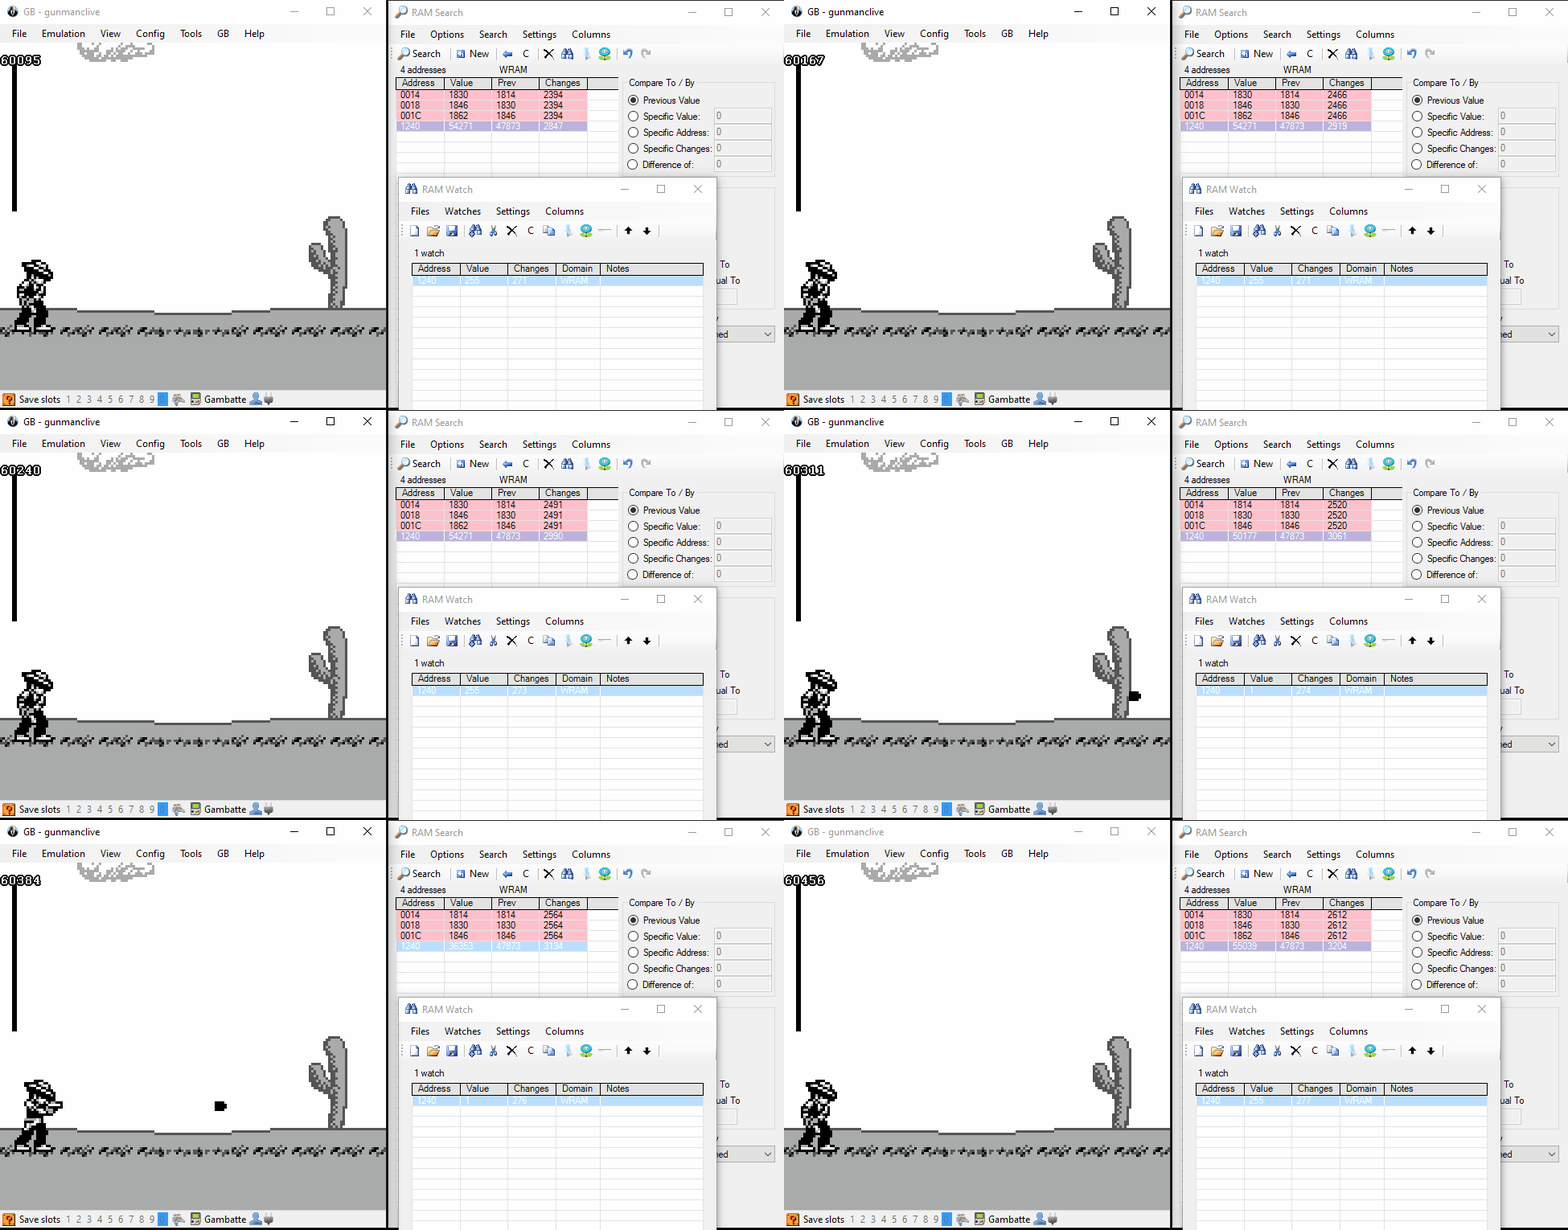
We can then for example set a value ourselves, or freeze it to see what happens:
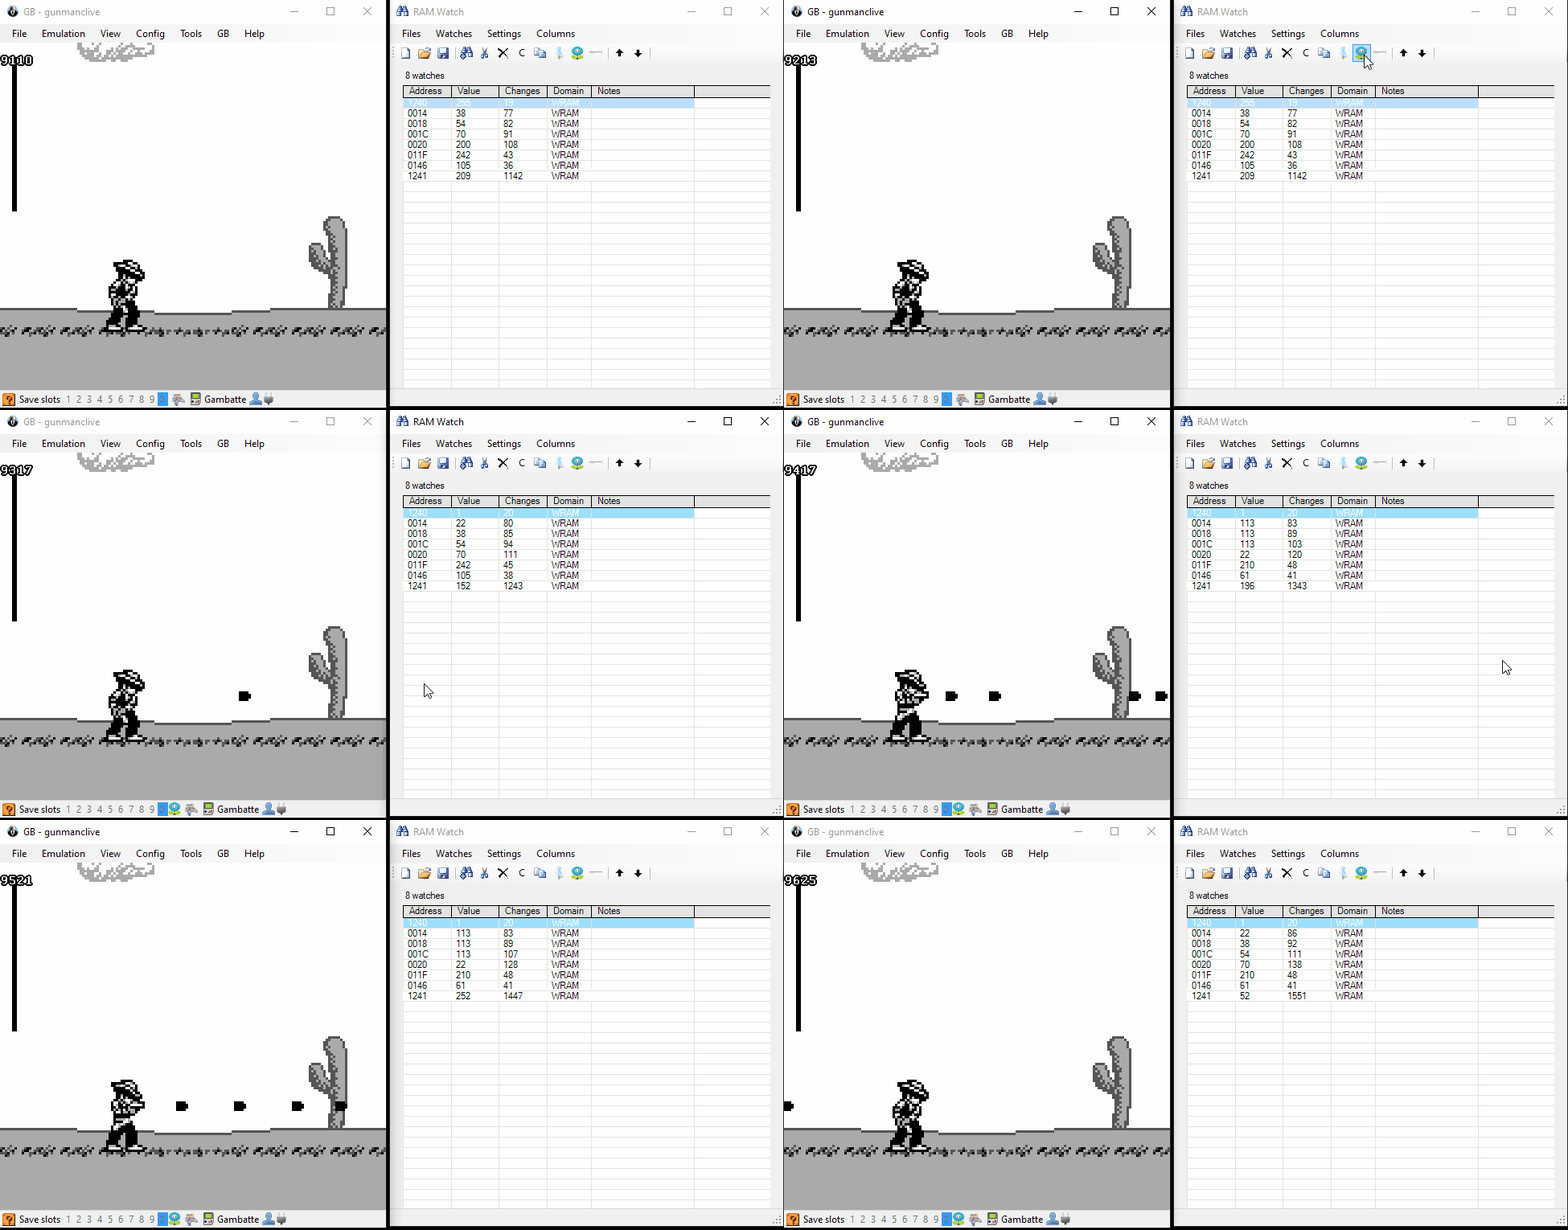
Infinite bullets! It also seems to introduce a bug where bullets will reappear on the left side of the screen if they move out on the right.
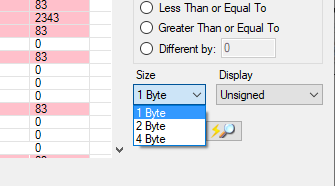
Tip: Sometimes it's worth switching the word size to 2 or 4 byte, as we don't know how the game stores its values. If some addresses are found it's best play around and see what happens.
With 2-byte words, we can see what happens now when we freeze the address in RAM:
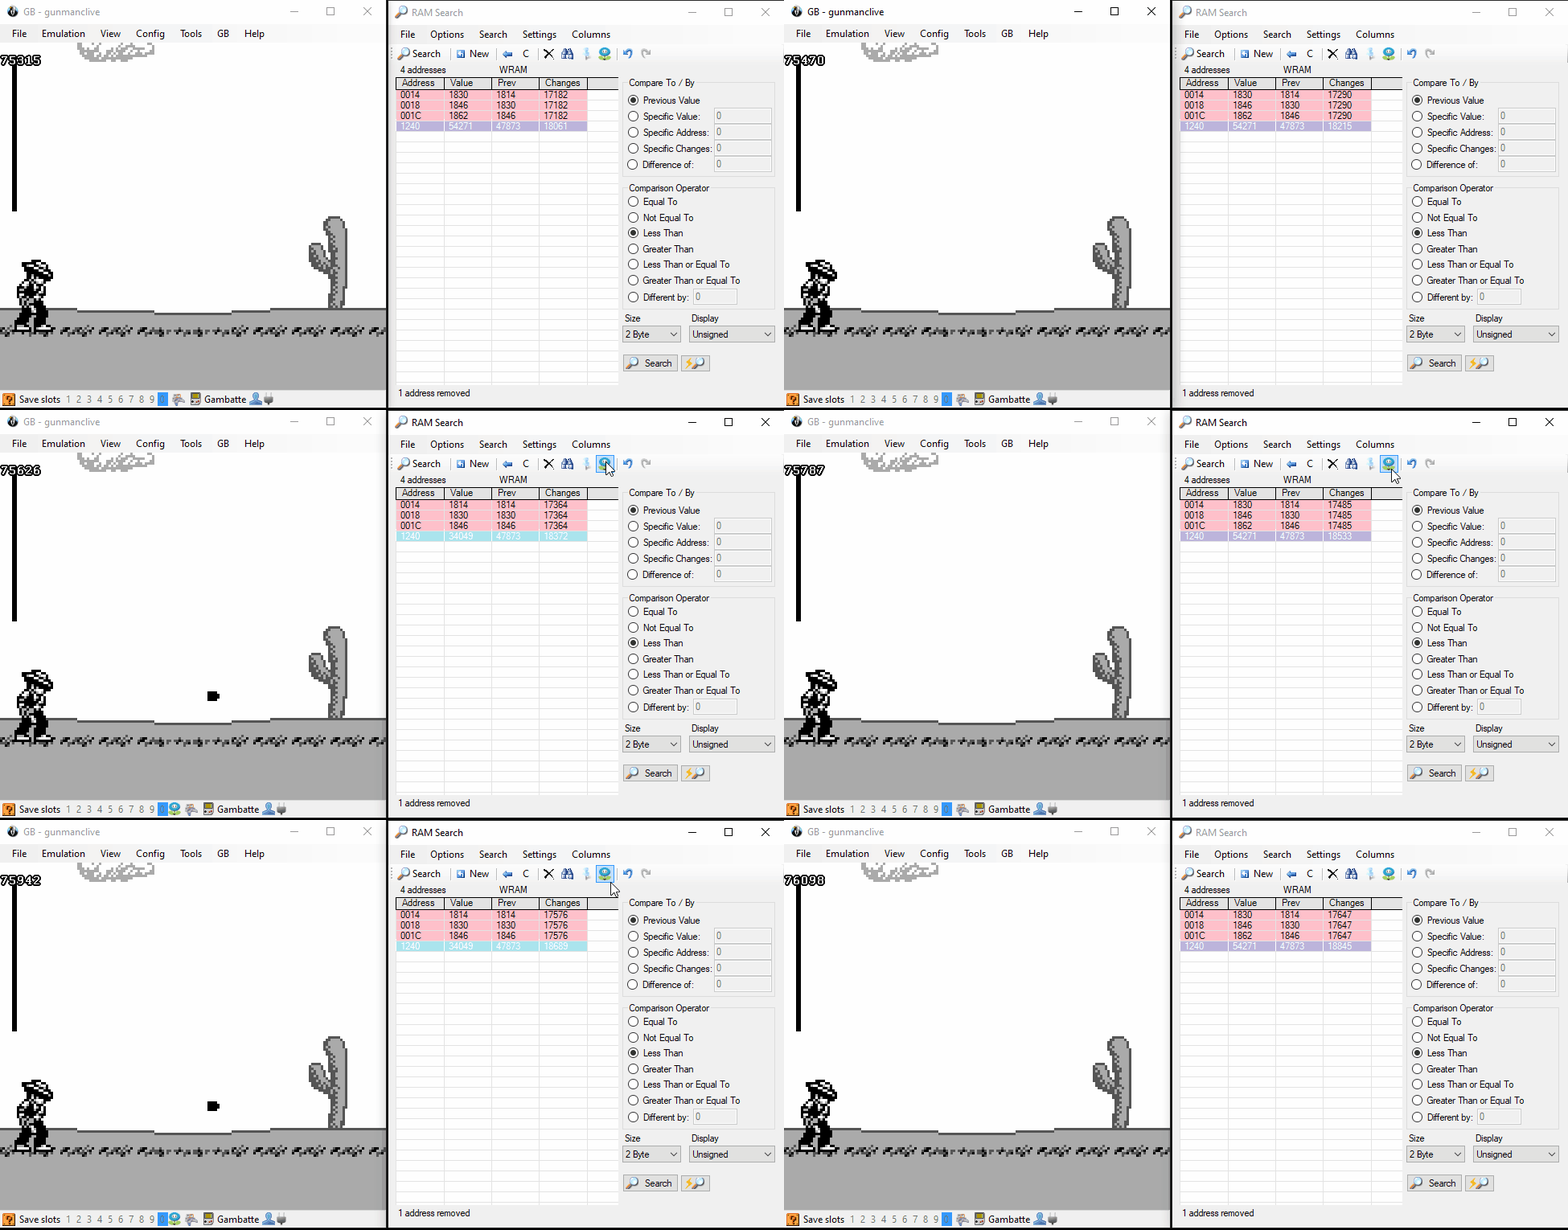
We now have the ability to stop time! :-)
The goal was to show here that it can be handy to know more about the internals of the game. We obviously can't manipulate the game RAM while making our TAS, but it can be really helpful to know exactly how much speed we have, what items give us the best power-up etc.
Result
You can see the finished (for now - maybe you'll find a more efficient way!) TAS here:
You can also download the .tasproj-File here: gunmanclive.zip
Bonus: Discovering glitches
Using TASes can also be very helpful in figuring out how a game works internally. For example, in Home Alone 2, there is a glitch which lets you change where the elevator goes, depending on when the Up button is pressed:
Thanks for reading and happy TASing!